How to Add Floating Animation to Elements in Elementor Using Custom CSS
					.imagefloat {
    animation: float 6.5s ease-in-out infinite;
}

@keyframes float {
	0% {
		transform: translate(0, 0);
	}
	50% {
		transform: translate(0, -30px);
	}
	100% {
		transform: translate(0, 0);
	}
}

Steps
Guide to Applying CSS Code for Floating Elements in Elementor (WordPress):
Copy the CSS Code
- Copy the provided CSS code to your clipboard.
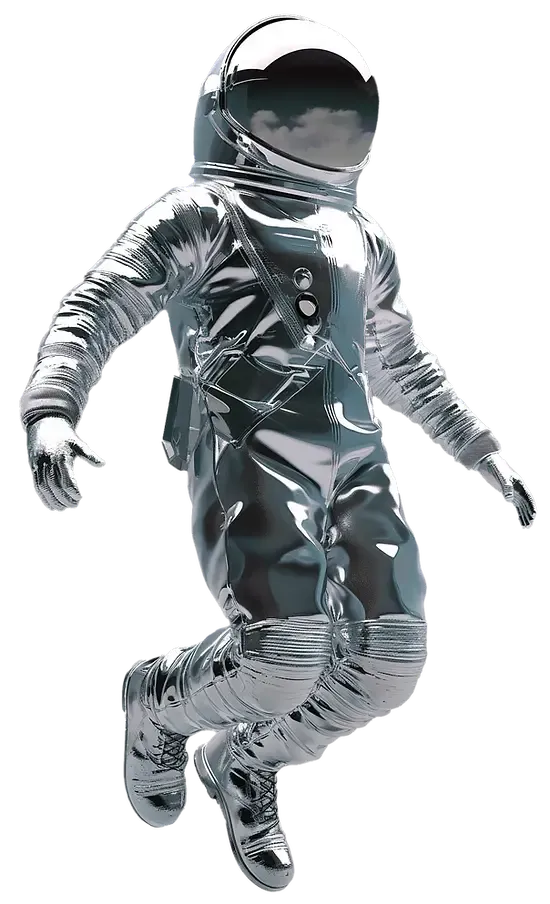
Navigate to the Element to Float
- Open your Elementor editor and locate the image or element you want to apply the floating effect to.
Access the Advanced Settings
- Click on the element to open its settings.
- Go to the Advanced tab in the Elementor sidebar.
Add the CSS Code
- Scroll down to the Custom CSS section under the Advanced tab.
- Paste the copied CSS code into the Custom CSS field.
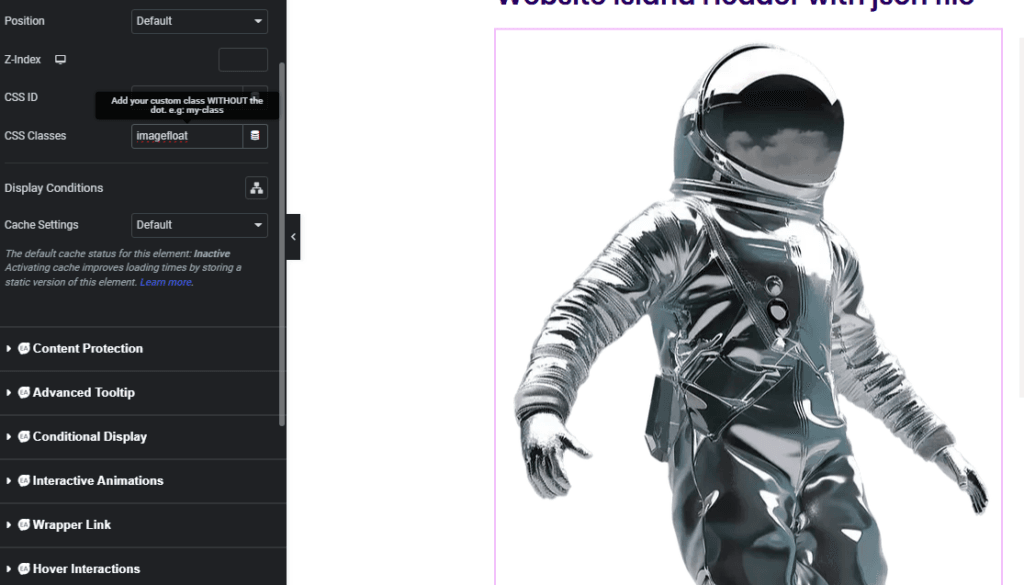
Set Up the CSS Class for Floating
- Still in the Advanced tab, locate the CSS Classes field.
- Enter
imagefloat(as specified in the CSS code) in this field.
Preview the Floating Effect
- After entering the class, you should see the floating animation applied to the element.
Adjust the Floating Density (Optional)
- To customize the density or speed of the floating effect, edit the relevant values in the CSS code (e.g., transform, keyframes, or duration values).
Save and Update
- Click Update in Elementor to save your changes.
- Preview your page to ensure the floating effect is working as expected.
This process enables you to add an engaging floating animation to any element in Elementor with ease!